Meta
Dataset or Pixel ID
Open Events Manager, create or select the web dataset, then copy its ID. Meta uses the same ID for a dataset and its pixel.
Paste the numeric ID only.
Open Meta setup guidance Help Center
Choose a supported pixel type, add its identifier, and save the tracking record.
A pixel record stores the identifier Zapped needs for the analytics or advertising platform you selected. Zapped adds the supported base pixel to public cards when you attach that record in the card editor.
Step one
Choose the exact platform in Zapped, then copy only its identifier. Do not paste a full script tag, browser extension output, or a URL.
Meta
Open Events Manager, create or select the web dataset, then copy its ID. Meta uses the same ID for a dataset and its pixel.
Paste the numeric ID only.
Open Meta setup guidanceGoogle Analytics
In Analytics Admin, open Data streams, select the Web stream, and copy the Measurement ID from its details.
It normally starts with G-.
Find a Google Measurement IDGoogle Tag Manager
In Tag Manager Admin, choose Install Google Tag Manager and copy the container ID shown in the installation snippet.
It starts with GTM-.
Find a Google container IDIn Campaign Manager, open Data, Signals manager, Insight Tag, then choose the tag manager option and copy the Partner ID.
Copy the Partner ID, not the complete script.
Find the LinkedIn Partner IDCreate or open the Pinterest Tag in Ads Manager, then copy its unique Tag ID from the tag setup details.
Do not use an event name as the ID.
Open Pinterest Tag setupX
Open X Ads conversion tracking and copy the tag ID from the website tag you created for the relevant ads account.
Use the base website tag ID.
Open X conversion trackingQuora
Open Quora Ads Manager and copy the Base Pixel ID. The Base Pixel is the visitor tracking connection, not a conversion event label.
Keep event rules in Quora.
Open Quora Pixel guidanceTikTok
In TikTok Ads Manager, open Tools, Events, and Data sources. Select the web Pixel to view and copy its ID.
Use the Pixel ID, not the ad account ID.
Find the TikTok Pixel IDSnapchat
In Snapchat Ads Manager, open Pixels, create or select the web pixel, then use the identifier from its pixel code or setup screen.
Verify it with Snap Pixel Helper after publishing.
Open Snap Pixel setup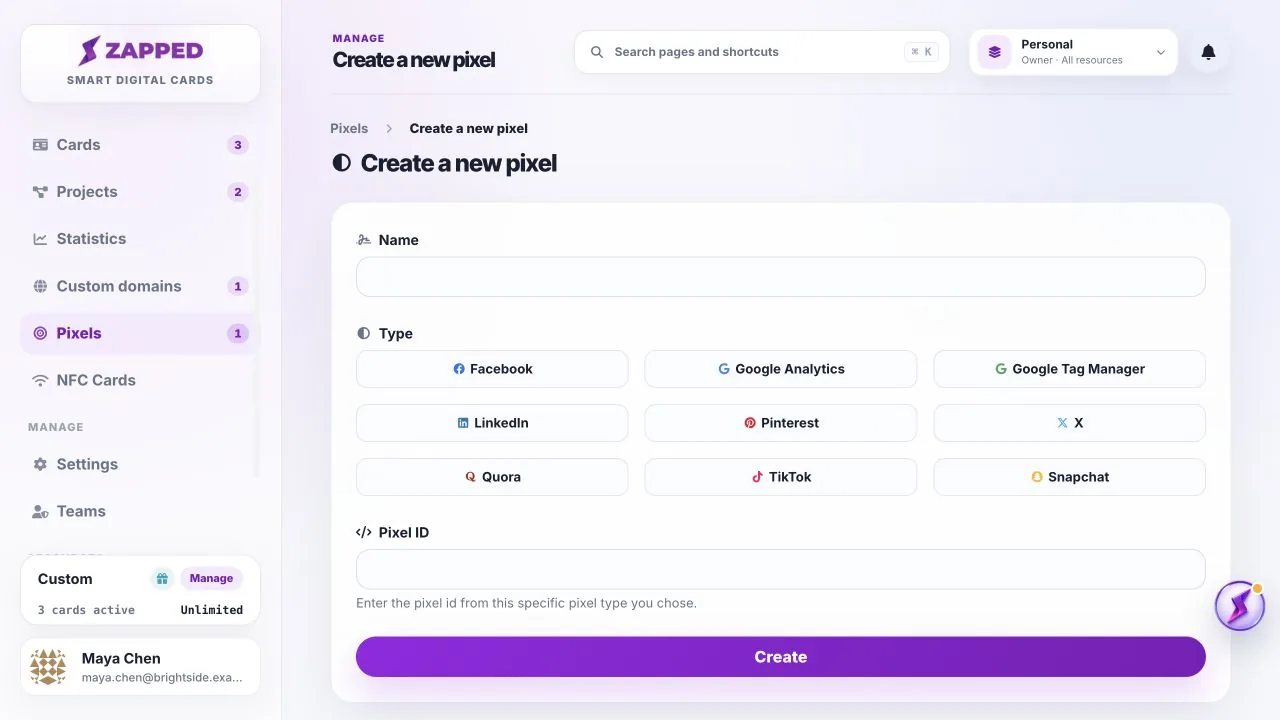
Use the identifier format requested by Zapped for the selected pixel type, not a full script unless the interface specifically asks for it.
Yes, when that matches your tracking plan and the card surfaces support attaching that pixel.
Was this guide helpful?