You're holding a card someone pressed into your hand twenty minutes ago, and you'd like the person in Contacts before the card ends up under a coffee cup. The honest answer is that your iPhone can read the card, but it won't turn the whole thing into a finished contact on its own. Camera recognizes the text, and it may offer to save a phone number or an email. The name, company, title and the rest are still yours to add.
Check that your iPhone can do this at all
The built-in route is called Live Text, and Apple says it needs an iPhone XS, iPhone XR, or later running iOS 15 or later. Apple also says availability varies by language and region, so a supported phone isn't a guarantee.
If your phone qualifies, make sure the feature is on. Apple's support article puts the switch at Settings > General > Language & Region > Live Text. Camera has its own toggle at Settings > Camera > Show Detected Text, and if that's off you'll never see the detection frame described below.
Scan one card and save the first field
Lay the card flat in decent light and follow Apple's Camera Live Text steps:
- Open Camera and frame the printed text.
- Wait for the yellow frame to appear around the text.
- Tap Detect Text.
- Touch and hold the phone number or email address, then drag the grab points so only that field is selected.
- Tap Add to Contacts if iPhone offers it.
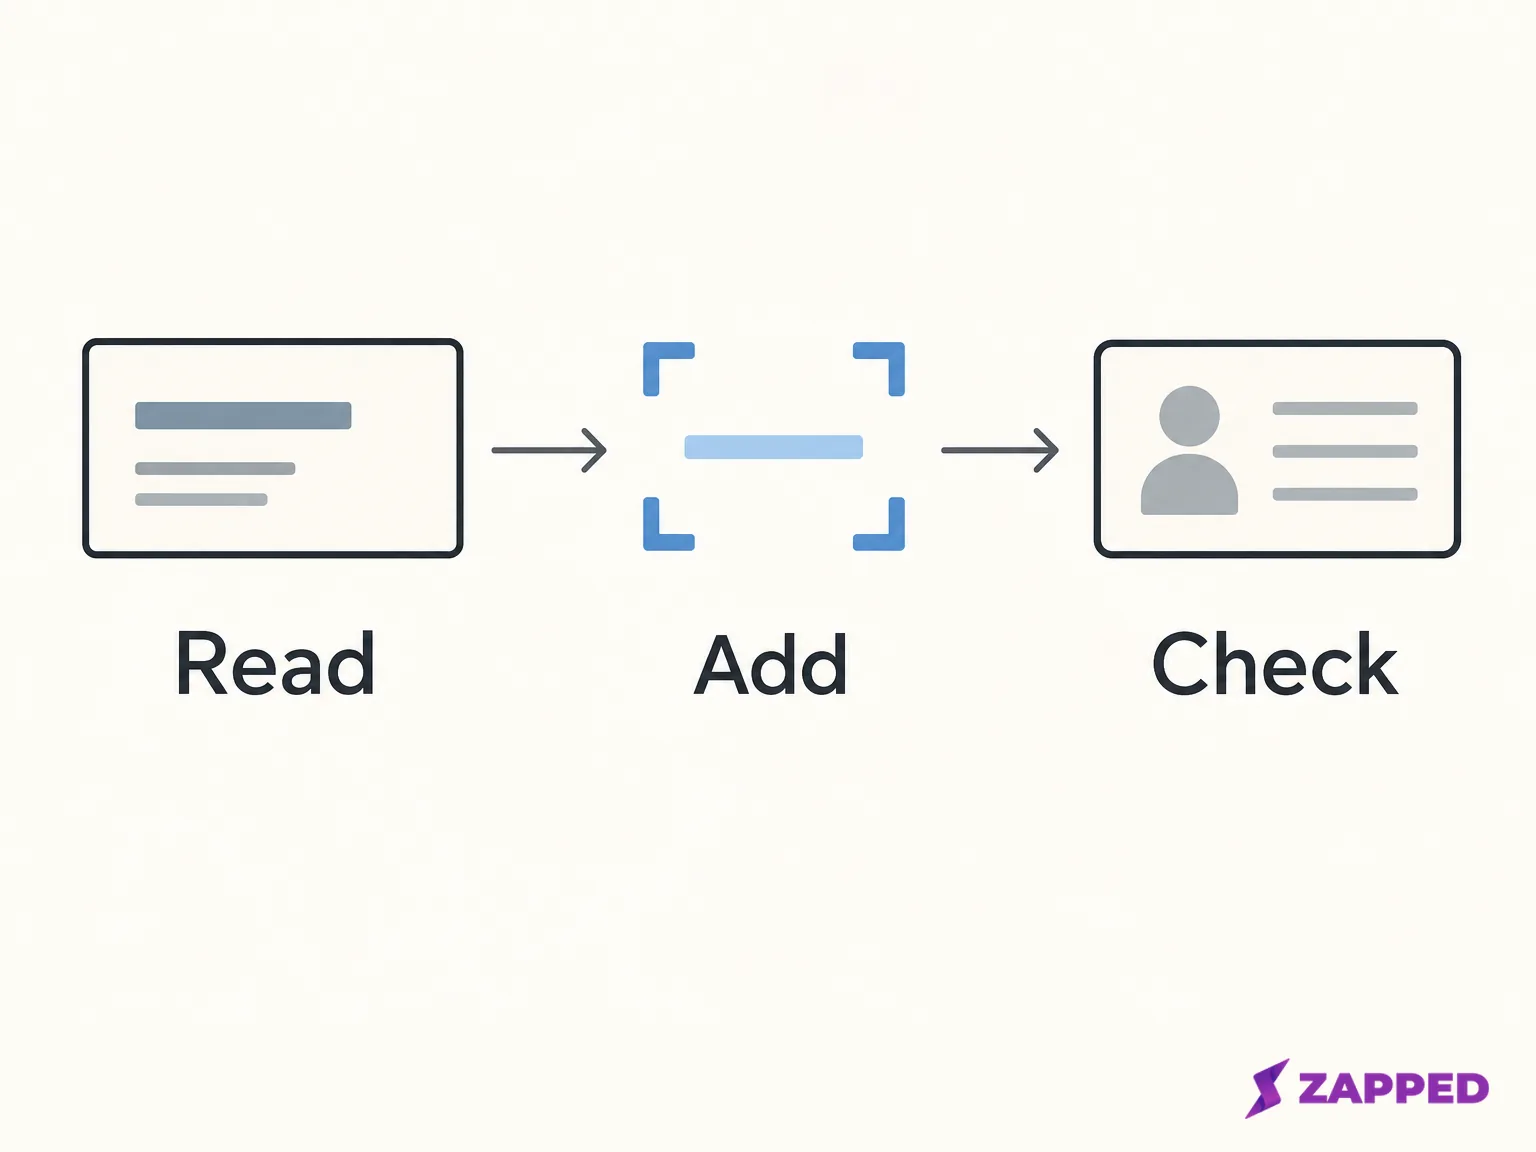
You picked one field, not the card. Apple says iPhone may offer Add to Contacts when it detects a phone number or email address, depending on the image, which makes it a text action rather than a business card import. People in a Reddit thread about exactly this have reported mixed results, and one says only the phone number and email came across. That matches the design.
Fill in everything the camera didn't
Once the contact exists, open it in Contacts and add what's still missing: the name, company, title, website, address and any second number, each in its proper field. Apple's steps for creating a contact are to open Contacts, tap Add, enter the details and tap Done. For a record you've already started, Apple's contact editing steps are Edit, then Done.
We're inferring the missing fields from how Apple documents the field actions, not from a device test, so treat the first card as a trial. If it fills other fields too, verify them against the card.
When there's no yellow frame, or no Add to Contacts
If the yellow frame never appears, check Settings > Camera > Show Detected Text, then Live Text under Language & Region, and then your model, iOS version, language and region from the section above. If none of that helps, skip Live Text entirely. Open Contacts, tap Add, type the details from the card, and tap Done.
If the frame appears and you can select a number but Add to Contacts isn't offered, copy the selected text instead. Apple lists Copy as a Live Text action for pasting into another app such as Notes or Messages. Then do the same manual route: Contacts, Add, paste the number or email into its field, type the rest, tap Done.
Check the saved contact before the card goes away
Live Text reads a photo of ink, and a single wrong digit is easy to miss. Before you bin the card, search Contacts for the name or the number, since Apple says search accepts a name, address, phone number or other contact information. Open the record and compare the phone number and email with the card, character by character.
If something is off, open Contacts, tap the contact, tap Edit, change the field and tap Done, as in Apple's contact editing steps. Fix it now, while the paper is still in your hand.
Saved contacts then need a home you can find them in later. For that, see our guide to organizing business cards digitally. If you use Google Contacts rather than iCloud, there's a separate Google Contacts scan guide. And if the card in front of you is a digital or NFC card rather than a paper one, you want a different route, save an NFC card to iPhone.
When a stack makes a scanner app worth the install
Field-by-field entry is a fair price for one or two cards. If you repeat it often, a dedicated scanner app may be worth the install, provided its review and save steps suit you. We can describe one app's documented workflow, not rank the field.
In ABBYY's Business Card Reader for iOS, you open the app and tap the camera icon, put the card inside the white frame, and press the shutter or let auto-capture fire. Without auto-capture, you adjust the card area and tap Recognize. The recognition editor then lets you check every field and correct it, add extra information and a photo of the back of the card, and assign a group. You tap the tick button at the upper right and choose where it's saved, and you can edit the contact later in the app.
ABBYY's App Store listing says the free version covers 10 recognitions. On 2026-10-16 it showed a BCR Premium monthly offer at $7.99 and a yearly offer at $29.99, alongside older or archived purchase entries, so confirm the in-app offer before subscribing. The listing also says recognized data can go to your device Contacts or the app's own storage, so choose that destination on purpose.
Before you give any scanner app access to your camera or Contacts, read its privacy label on the App Store. ABBYY's label is developer reported, and Apple notes it hasn't verified those answers. It lists categories such as contact information, user content, identifiers and usage data that may be used for tracking or linked to you. That doesn't say a particular scan is transmitted. Whatever app you pick, review the fields before you save, then run the same check as above: search Contacts, open the record, and compare the number and email with the card.