Adobe Illustrator is one of the best tools for a print-ready business card because it handles vector logos, type, precise artboards, bleed, and PDF export cleanly.
Quick answer
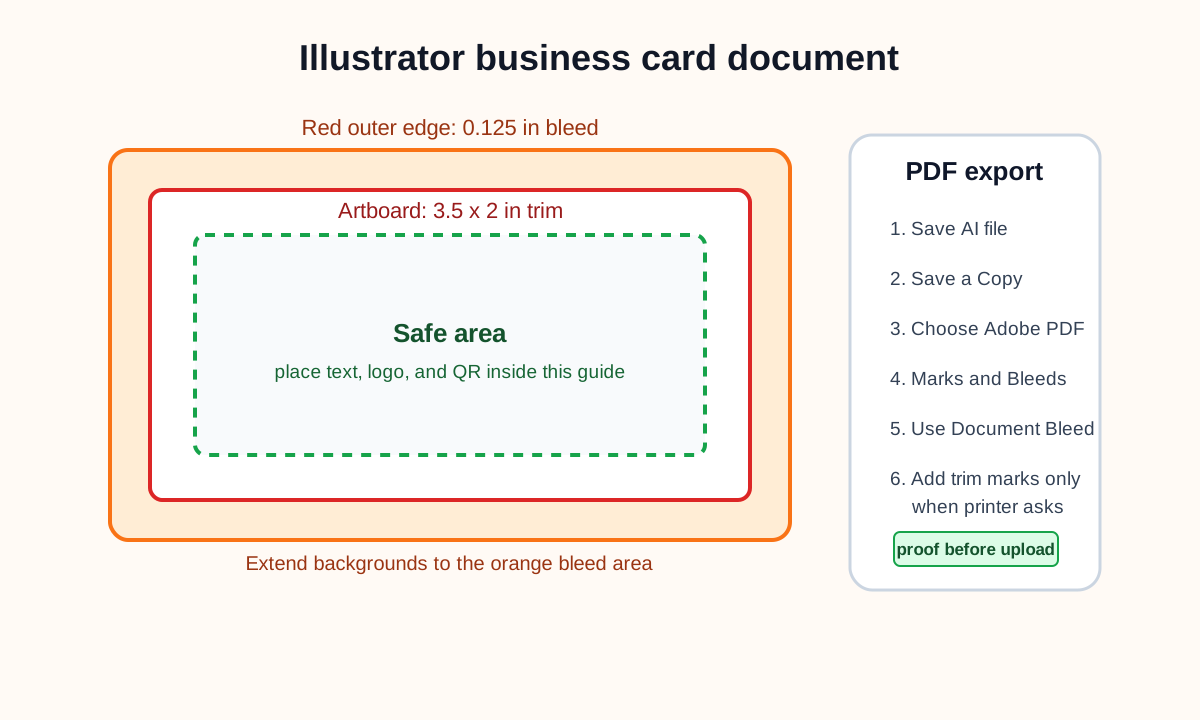
Create a new Illustrator document at 3.5 by 2 inches for a standard US card, set 0.125 inch bleed on every side, keep text and QR codes inside a safe area, extend backgrounds to the red bleed boundary, then export an Adobe PDF with Use Document Bleed Settings turned on if your printer asks for bleed.
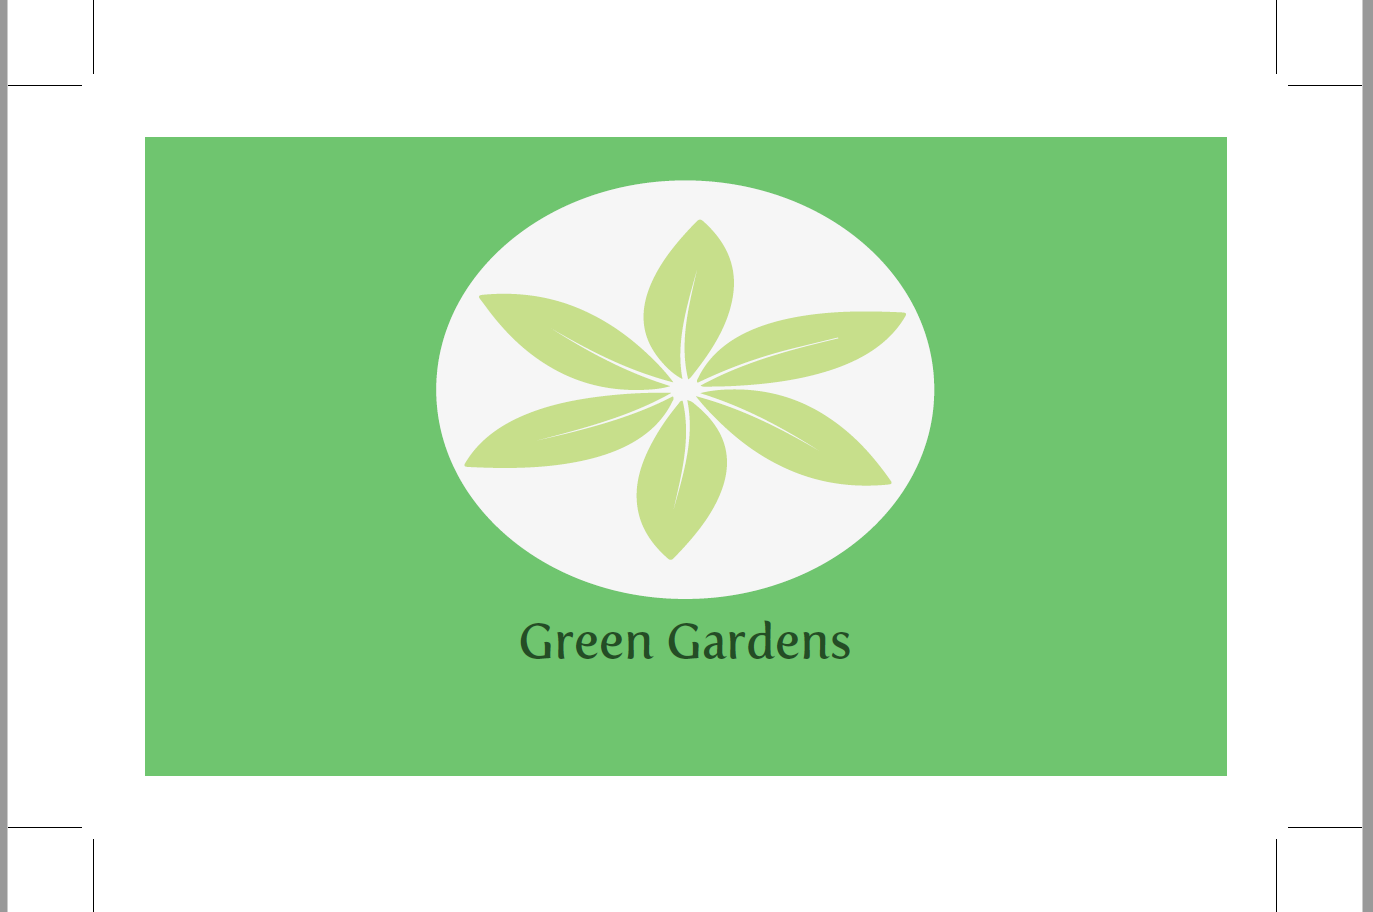
Visual reference: bleed and crop mark example from a Graphic Design Forum discussion about business card bleed.
Check your printer's specs first
Before designing, confirm:
- Finished trim size.
- Bleed amount.
- Safe margin recommendation.
- Color mode requirements.
- PDF preset.
- Whether trim marks are wanted.
The common US card is 3.5 by 2 inches with 0.125 inch bleed. Some printers, countries, and specialty finishes use different specs, so use the printer's template whenever one is available.
Create the Illustrator document
- Open Illustrator.
- Choose File > New.
- Set units to Inches.
- Set width to 3.5 in and height to 2 in for a horizontal card.
- Set bleed to 0.125 in for Top, Bottom, Left, and Right.
- Choose the color mode requested by your printer.
- Create the document.
The white artboard is the finished trim size. The red border outside the artboard is the bleed boundary.
Build the card safely
Use these rules while designing:
- Extend backgrounds, colors, photos, and edge-to-edge shapes to the red bleed boundary.
- Keep text, icons, logos, and QR codes inside the safe area.
- Use vector logos where possible.
- Keep the QR code flat, square, high contrast, and away from folds or cut lines.
- Use one main call to action, such as "Scan to save my contact" or "Book a consult."
If you want a safe area guide, draw a 3.25 by 1.75 inch rectangle centered on the artboard. That gives you a 0.125 inch margin inside the 3.5 by 2 inch trim.
Add a QR code
- Generate your QR code from the final profile link or landing page URL.
- Download the QR code as SVG, PDF, or a high-resolution PNG.
- Place it in Illustrator with File > Place.
- Keep it square while resizing.
- Place it inside the safe area.
- Test it from the screen and from a printed proof.
A QR code to a live Zapped profile is usually better than a QR code to a static PDF because you can update the destination later.
Export a print-ready PDF
- Save the editable Illustrator file.
- Choose File > Save As or File > Save a Copy.
- Select Adobe PDF.
- Choose the PDF preset your printer recommends.
- Open the Marks and Bleeds section.
- Check Use Document Bleed Settings if the printer wants bleed in the file.
- Add trim marks only if the printer requests them.
- Save the PDF.
- Open the PDF and confirm the full size includes bleed.
Adobe's Illustrator help explains that Use Document Bleed uses the bleed settings defined in the New Document dialog box.
Common mistakes
The background stops at the artboard edge
That can create a thin white edge after trimming. Extend the background to the red bleed boundary.
Trim marks are added when the printer does not want them
Some online printers want a clean PDF with bleed but no marks. Check the upload instructions.
The QR code is too close to the edge
Cutting variance can damage a QR code. Keep it inside the safe area and test from paper.
Illustrator vs Photoshop for business cards
Use Illustrator when the card is mostly logo, text, shapes, icons, and QR code. Use Photoshop when the card relies heavily on photos, textures, or image effects. Many designers use both, then finish the print layout in Illustrator.
Where Zapped fits
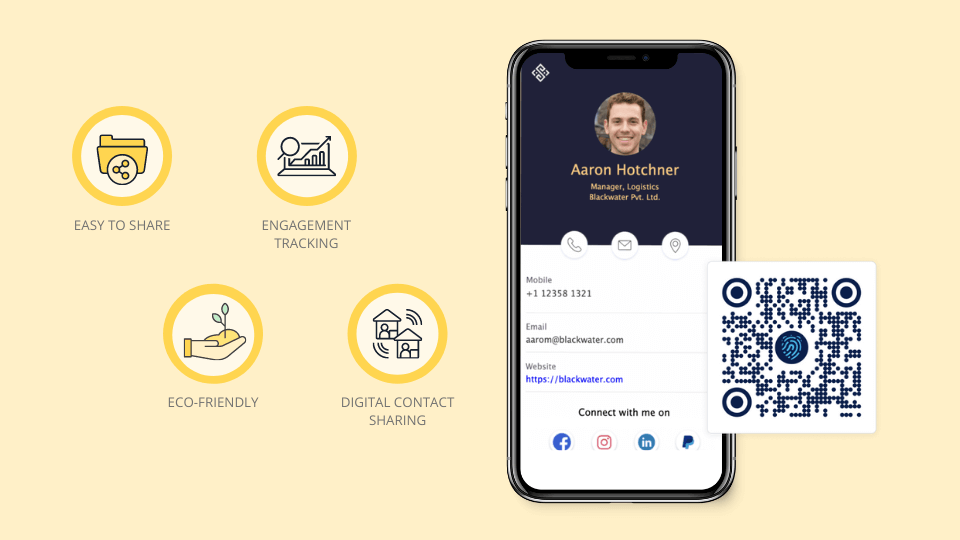
Illustrator gives you the print-ready card. Zapped gives the QR code or NFC card a live profile behind it, so the same printed card can keep sending people to current contact details, booking links, social links, files, or forms.
Sources
- Adobe Help, printer's marks and bleeds in Illustrator for bleed and document bleed settings.
- Adobe Illustrator product page for Illustrator product context.
- Graphic Design Forum, business card bleed discussion for the bleed and crop mark visual reference.
- Zapped digital business card features for QR, NFC, and profile workflows.