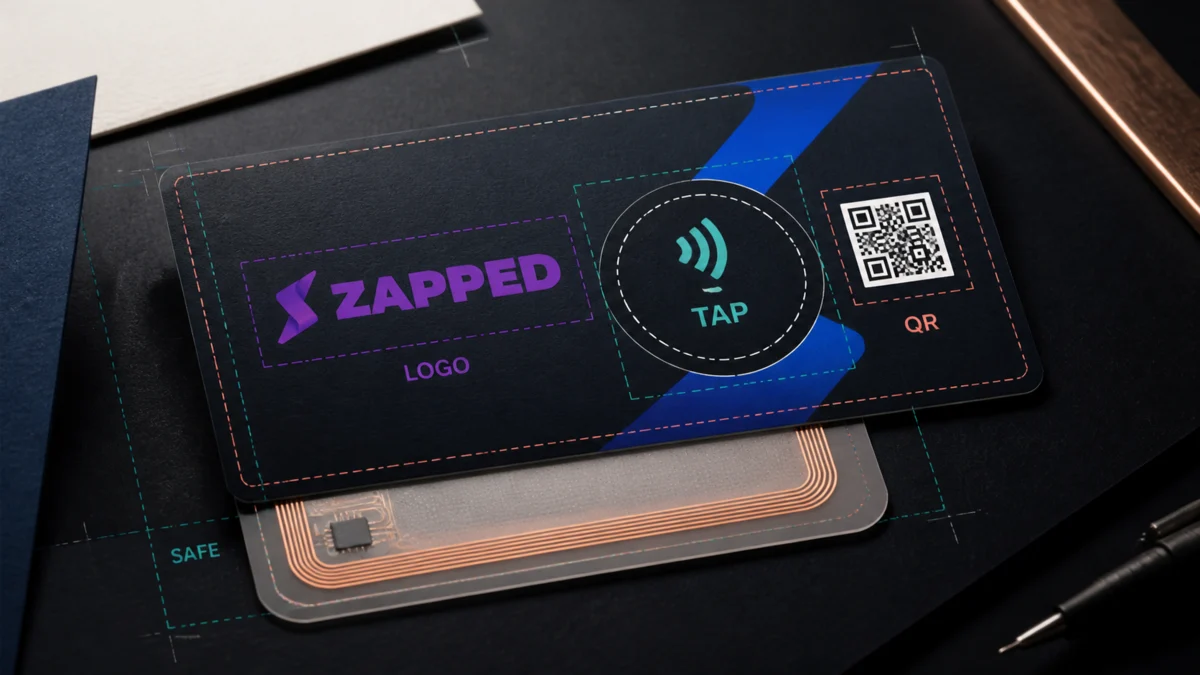
Good NFC business card logo placement starts with two separate boundaries. The printer controls trim, bleed, and safe area. The NFC supplier controls the inlay location, chip, encoding, and test method. The logo belongs inside the printer's protected area, but it should also leave room for a clear tap prompt and a fallback route.
Do not guess a universal NFC logo margin or assume that the antenna sits in a visually obvious spot. Request the current printer template, ask the supplier for the inlay position, and approve a sample before a large run. The broader NFC business card design guide covers the other layout decisions around the card.
If the technology is new to you, start with what NFC business cards are.
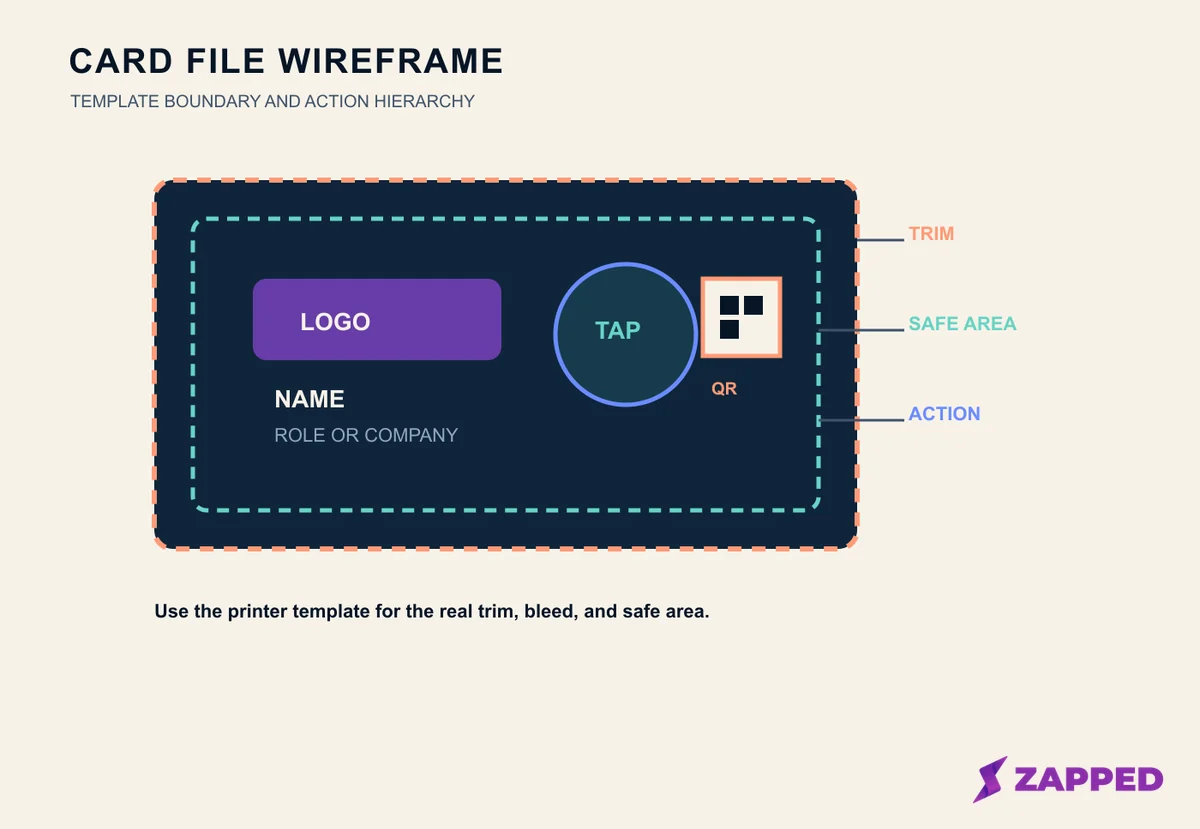
Conceptual wireframe, not a printer template. Use the selected printer's current file guide for the actual dimensions.
Quick answer
Place the primary logo where it is legible, inside the printer's safe area, and away from the trim line. Put the name and role close enough to establish identity. Give the tap prompt its own contrast and breathing room. Keep a QR code or short URL visible as a fallback.
Ask the NFC supplier where the inlay sits before finalizing the artwork. MOO's design guidance distinguishes trim, bleed, and safe area. That is a printer specific rule, not a universal NFC antenna rule. Use the printer's current file guide and the supplier's sample process for the final proof.
Start with the printer template
Trim
Trim is the intended final edge of the card. Anything close to that edge can be affected by normal cutting tolerance. Keep the logo, name, role, contact details, tap prompt, and QR quiet enough that a small shift does not make the design look broken.
Bleed
Bleed is the extra artwork that extends beyond the trim so a background reaches the edge after cutting. A background texture can use the bleed. A logo or small line of text should not. Do not use bleed as extra room for a mark you need to keep intact.
Safe area
MOO describes the safe area as the region where essential text and image content should remain protected from the cutting edge. Follow the exact safe area overlay supplied by the selected printer. If the printer supplies a downloadable template, keep its guides on a locked layer and export without them.
The safe area is not the same as the NFC inlay area. You need both pieces of information. One protects the artwork from cutting. The other tells you how the physical tag is assembled.
Build the visual hierarchy
Use one clear identity path. A common order is logo, name, role, and a single action prompt. The card should still make sense when the recipient sees it from across a table or in a quick handoff.
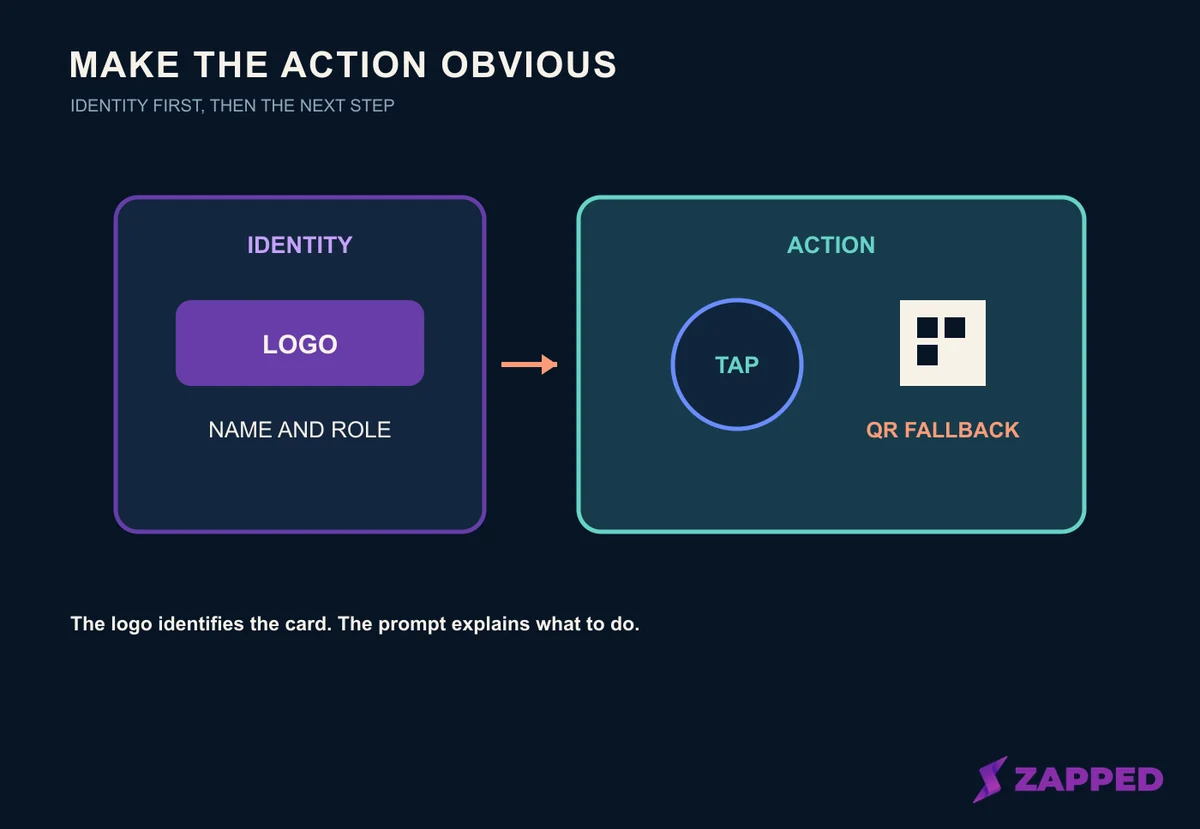
Conceptual hierarchy. It shows relationships, not universal measurements or a guaranteed physical tap zone.
Give the logo a job
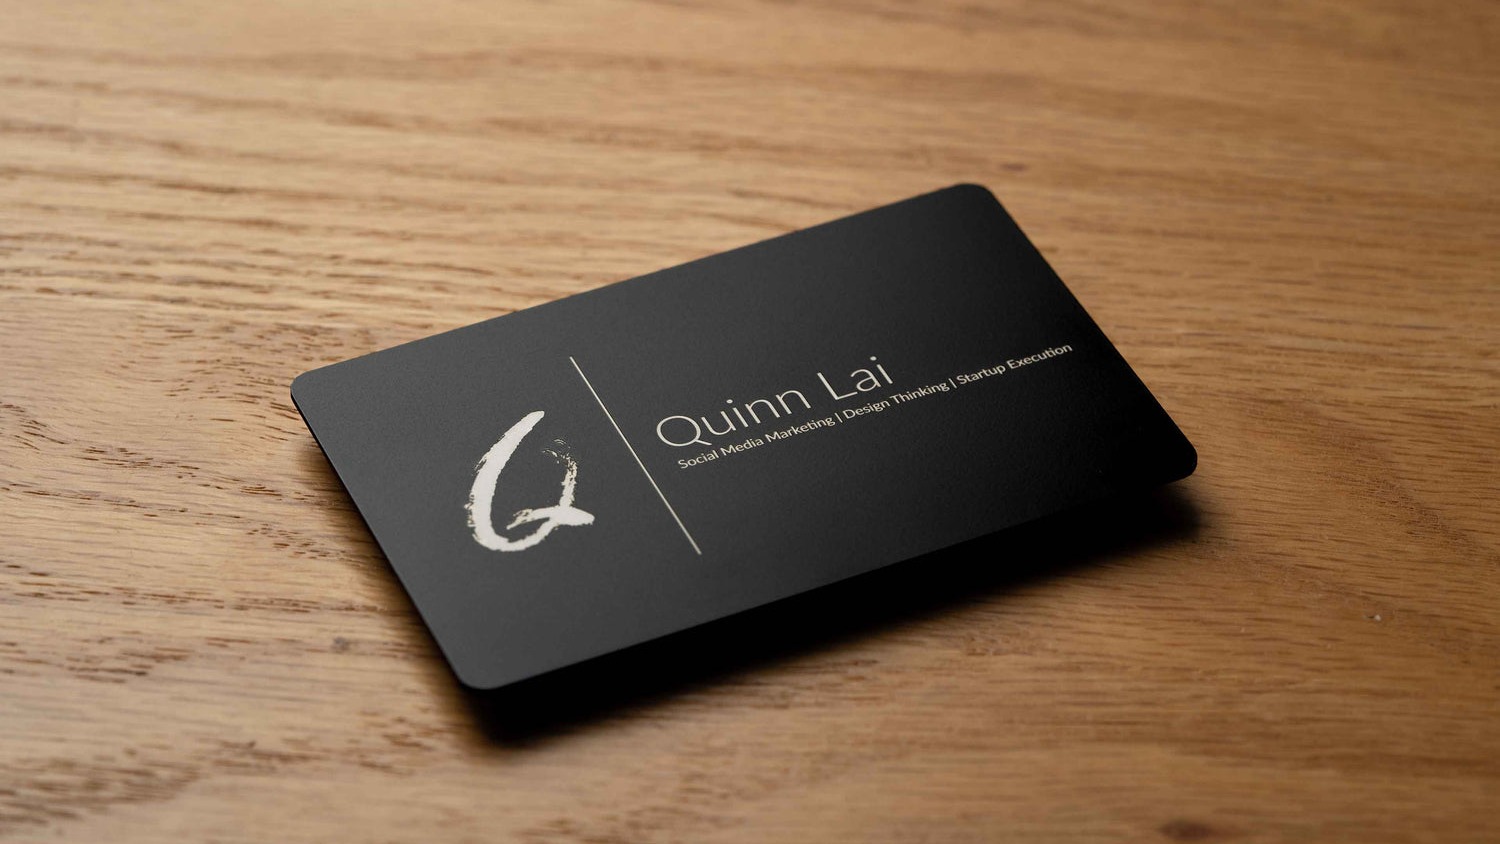
The logo identifies the person or organization. It does not need to explain the tap. Keep the mark large enough to recognize at the final card size, but do not let it consume the area needed for the name, role, prompt, or fallback.
If the logo has a fine wordmark, prepare a version with sufficient contrast and a simplified small size option. Ask the brand owner which mark is approved. Do not stretch, redraw, or place a pale mark over a grain that changes its visibility.
Make the name and role readable
The name is usually the fastest way to connect the physical card with the person standing in front of you. The role gives context. Keep those lines distinct from the prompt so the recipient does not confuse a name with an action.
Make the tap prompt explicit
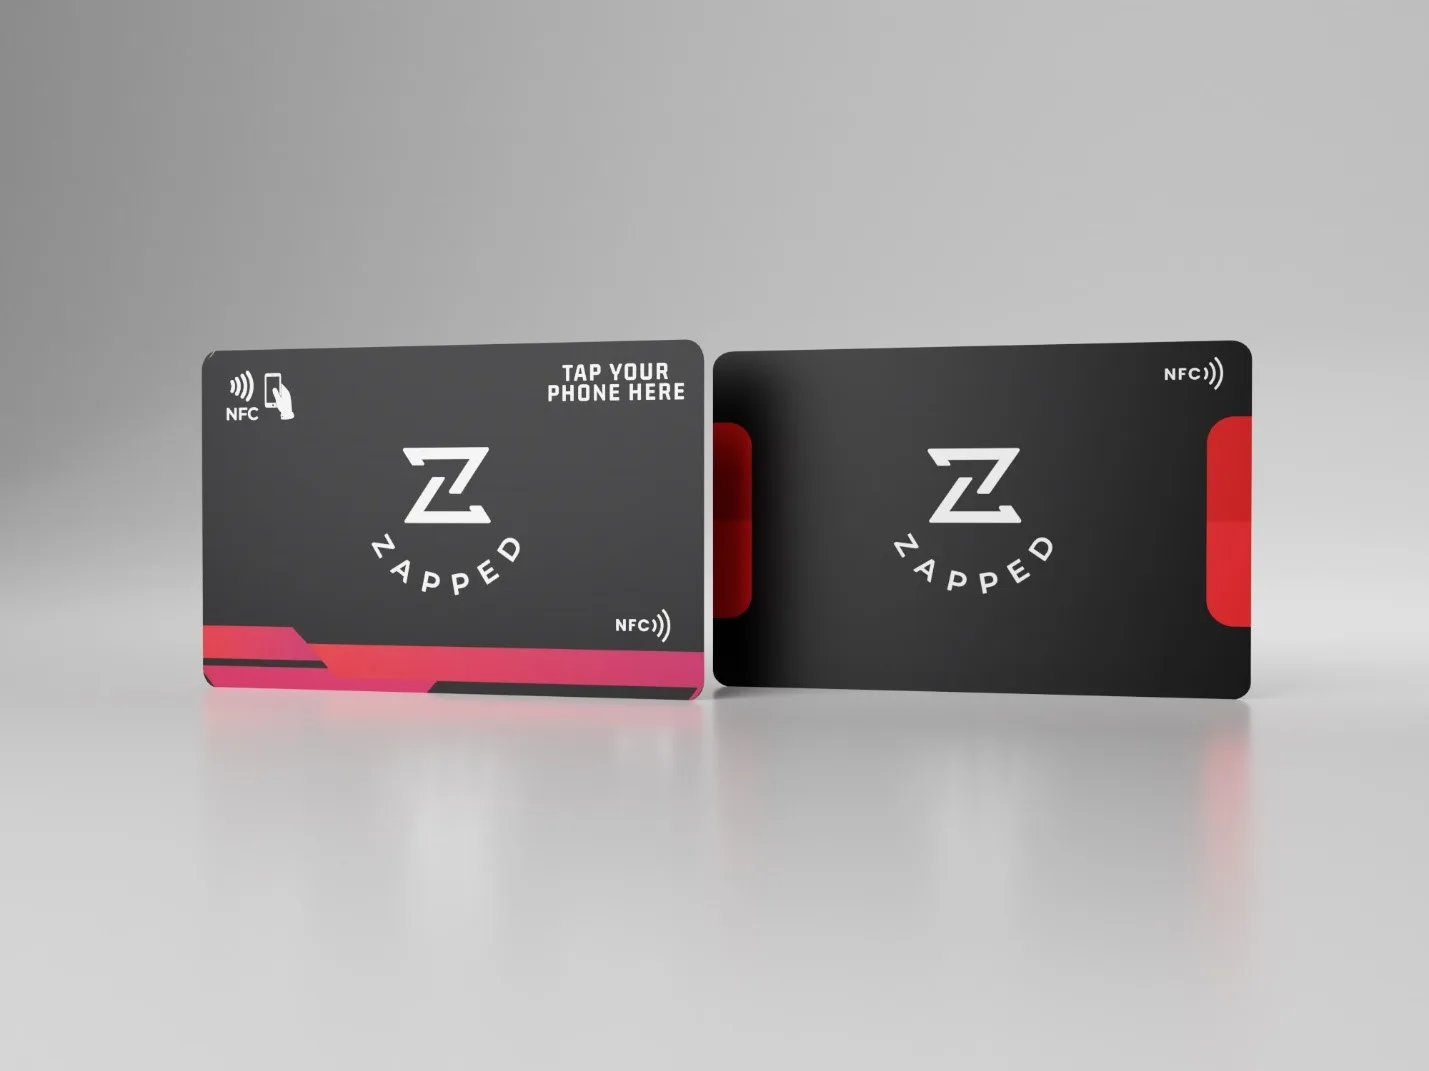
Use plain language such as “Tap to view my card” or “Tap phone here,” provided the wording fits the actual workflow. Pair the words with a restrained symbol or visual cue. Avoid a tiny NFC mark with no explanation, especially when the recipient may not know which side or area to use.
The prompt should point to a known interaction without claiming that every phone will respond identically. If the supplier gives a marked tap area, use that information. If not, ask for it before locking the design.
Keep the fallback visible
A QR code or short URL supports recipients who cannot or do not want to use NFC. A supplier's NFC card guidance treats QR as a visible backup when NFC is unavailable.
Android documents URI handling for NDEF data, while Apple Core NFC documents NDEF reading on supported devices. Those platform boundaries are one reason to offer more than one path.
The fallback is not a competing call to action. It is a recovery route. Keep it high contrast, give it enough clear space, and include a short label so the recipient knows what it opens. Use the final destination when generating the QR, not a temporary staging URL.
Do not guess the inlay location
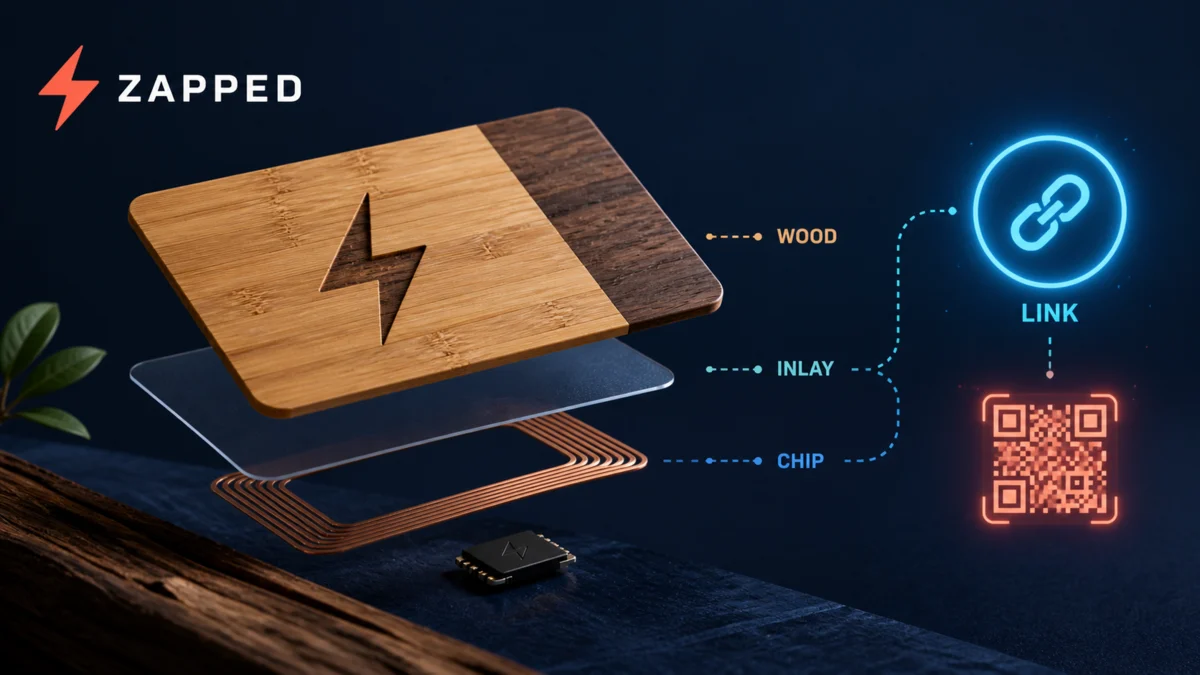
The printed card can hide an antenna and chip. The selected supplier may place the inlay near the center, in a marked zone, under a logo, or elsewhere in the assembly. The visible design does not prove the location, so ask the supplier to confirm it.
Ask the supplier:
- Where is the inlay relative to the trim and card edges?
- Is the same inlay position used across the whole batch?
- Which exact chip and tag type are installed?
- What NDEF record or URL is written to the tag?
- Is the tag writable after delivery, and can it be locked?
- Which side should the recipient tap?
- Is a sample or marked proof available before production?
- What material, finish, foil, ink, or adhesive sits over the inlay?
This is especially important for wooden NFC business cards, layered cards, unusual shapes, and cards with metallic finishes. A supplier's bamboo card information is a reminder that the written construction details belong in the proof request. A supplier's template or written answer is stronger evidence than a guessed center point.
A practical file workflow
- Download the current template for the exact card size, stock, shape, and finish.
- Lock the trim, bleed, safe area, and fold or cut guides on a nonprinting layer.
- Place the approved logo and keep it comfortably inside the safe area.
- Add the name and role with enough contrast for the final card size.
- Add a tap prompt that matches the supplier's marked inlay or requested interaction.
- Add a QR or short URL fallback and test the final destination separately.
- Ask the supplier to confirm the inlay location, chip, payload, and proof method.
- Export in the printer's requested file format and color settings.
- Review the returned proof for trim, contrast, logo distortion, QR clarity, and prompt placement.
- Tap and scan the physical sample before approving the production batch.
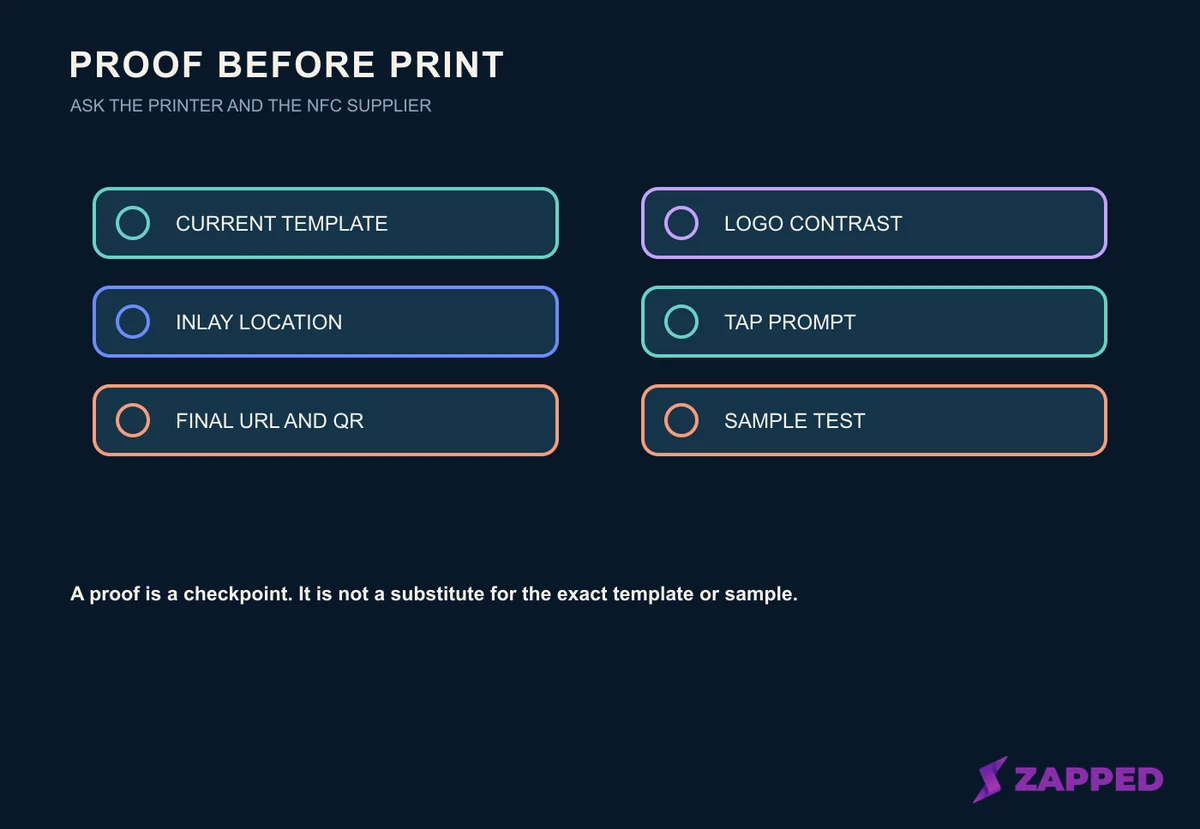
Proofing checklist. The sample and tap checks are recommended next steps, not tests completed by Zapped.
Common placement mistakes
Putting the logo in the bleed
A full bleed background can extend beyond the trim. A logo should not depend on that extra area. If the mark touches the trim guide, move it inward before you solve any NFC question.
Making the prompt smaller than the logo's legal text
The recipient needs to understand the action quickly. A tiny prompt beside a large logo may satisfy a layout brief while failing the handoff. Test the card at its real size and ask someone unfamiliar with the card what they think they should do.
Guessing the center is the tap point
Some cards use a centered inlay. Others do not. Some finishes or materials can change the construction. Ask the supplier and use the sample. Do not turn a generic diagram into a physical measurement.
Treating the QR as decoration
A QR code is a functional fallback. Preserve contrast and clear space, use a stable destination, and test the exact exported artwork. Do not replace it with a tiny decorative pattern that has never been decoded.
Forgetting the back of the card
If the back carries the QR or tap prompt, make the action easy to find when the card is handed over. If the front carries the logo and the back carries the call to action, ensure the recipient knows to turn the card over.
Changing the URL after the file is approved
A dynamic profile can be useful, but a staging link, redirect, or temporary campaign URL can still create a handoff problem. Record the final URL in the print approval and confirm who owns it.
Final file review
Before sending the file, answer these questions:
- Is the logo inside the selected printer's safe area?
- Does the background extend through the required bleed?
- Is the name readable at the finished card size?
- Does the tap prompt describe the real action?
- Is the QR or short URL high contrast and pointed to the final destination?
- Did the supplier confirm the inlay location and chip?
- Did the printer confirm the file format, color profile, and finish?
- Is a physical proof or sample available?
- Has the sample been tapped and scanned on the target phones?
For the encoding and test sequence after the artwork is approved, use program NFC business cards. For finish and decoration questions, see how to decorate NFC cards.
Final answer
Keep the logo inside the printer's safe area, make the name and action prompt easy to understand, and leave a visible QR or URL fallback. Treat the NFC inlay as a separate supplier boundary. Confirm its location, chip, payload, lock state, finish, and sample process before you export the final artwork.
There is no universal NFC logo margin or tap distance that can replace the current printer template and the actual supplier specification. A careful file review plus a physical sample is the reliable path from attractive layout to a card that works as intended.