To convert a vCard file to Excel, import the VCF into a contacts app or service, then export CSV or an Excel workbook. For a CSV, use Excel’s Data > From Text/CSV, open Transform Data, set phone, postal, and identifier columns to Text, choose Replace Current, then Close & Load.
Keep the original VCF. The conversion earns your trust when the second phone number and the leading zero survive.
Contact lines need a home in columns
If Excel shows a stack of contact properties, you’re looking at text, not yet a useful contact table. RFC 6350’s contact structure puts each vCard 4.0 record between BEGIN:VCARD and END:VCARD, requires FN for the formatted name, and allows TEL and EMAIL properties. More than one phone or email can belong to the same person.
Here’s a fictional contact, with its literal vCard lines preserved:
BEGIN:VCARD
VERSION:4.0
FN:Juniper Vale
TEL;TYPE=cell;VALUE=uri:tel:+1-202-555-0147
EMAIL;TYPE=work:[email protected]
END:VCARD
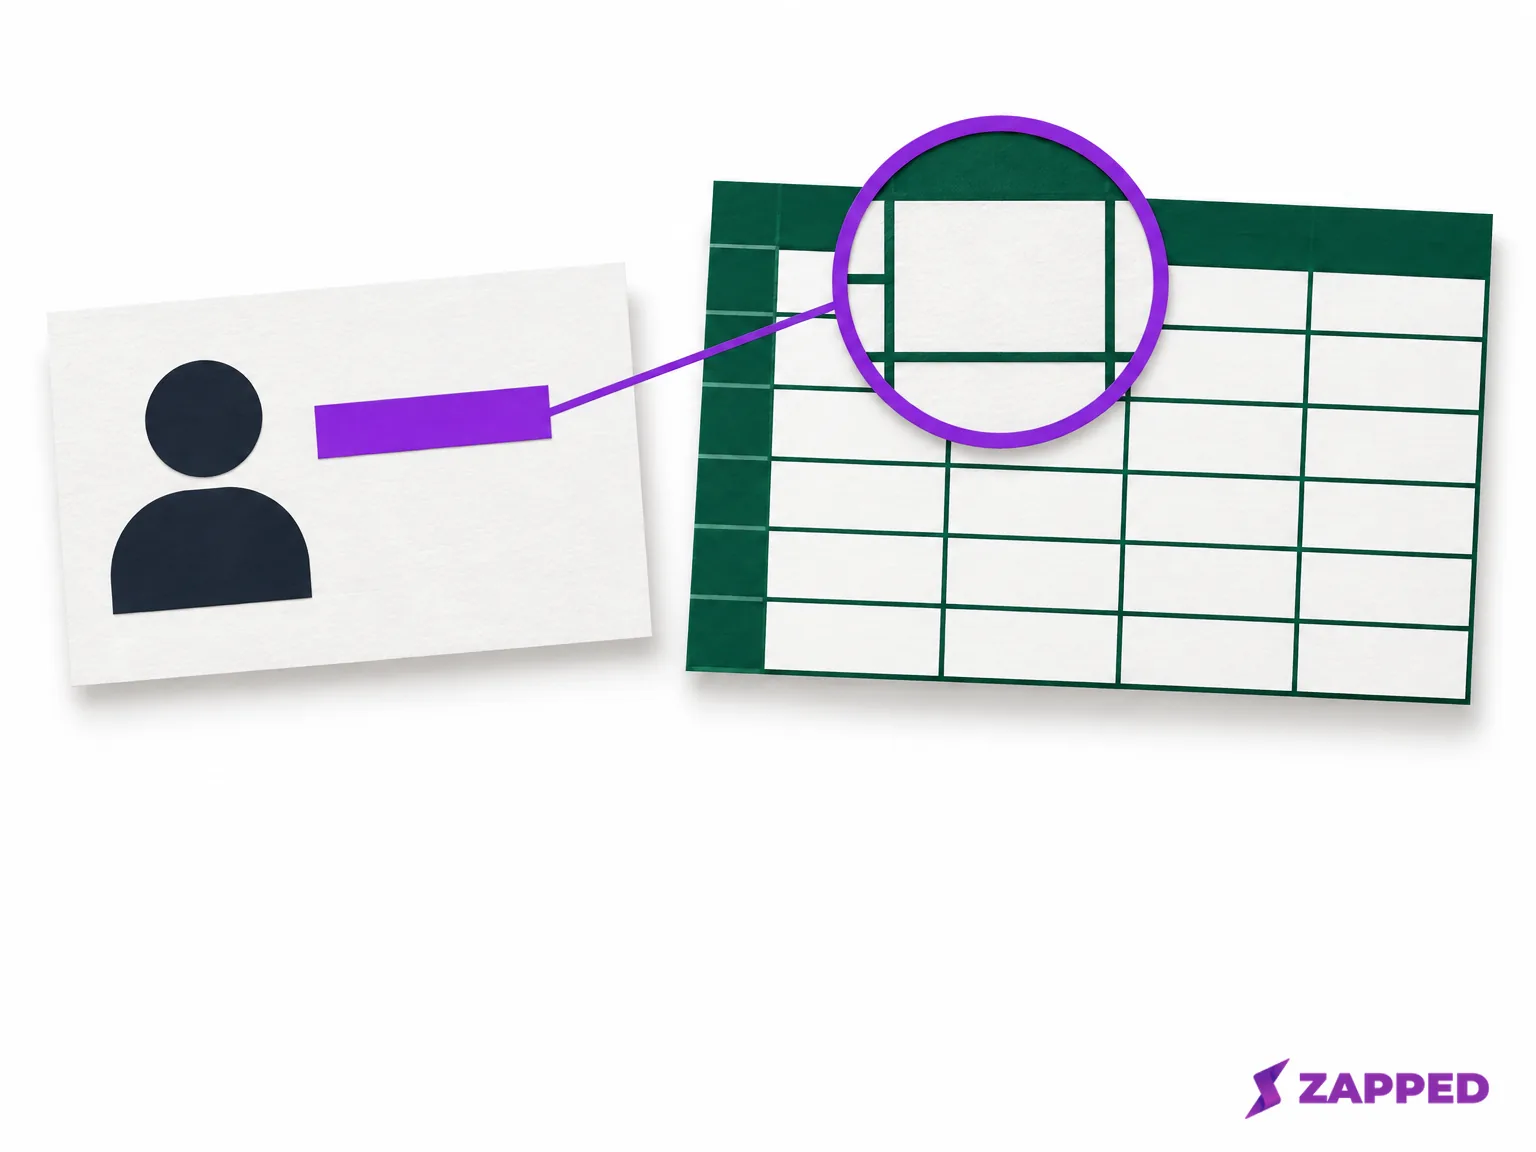
The spreadsheet needs a row for Juniper, with the name, phone, and email in separate columns. If another TEL line appears in the source, that number needs its own destination too. Don’t discard it because your first three columns look tidy.
For the broader file format question, our guide to vCard and VCF files explains the starting point. For the worksheet, the next choice is which contacts system will interpret the file.
Choose the bridge before opening Excel
Choose the bridge by where the contacts live and whether you’re willing to import them into a cloud account. Those two decisions narrow the route before you start looking for a converter.
On a Mac, use Contacts and Numbers
Apple documents three ways to import a VCF into Contacts: double click the file, drag it into Contacts, or choose File > Import, then Add. Once the contacts are there, select the ones you need.
Apple’s export instructions let you drag selected contacts into Numbers, then export an Excel, CSV, TSV, or Numbers file. That gives a Mac user a route through installed apps when importing into Google isn’t appropriate. Choose Excel for a workbook you’ll review, or CSV for the text import steps below. Either way, compare the exported fields with the original contacts before trusting the result.
From an iPhone or iCloud, make the computer handoff first
On iPhone, Apple documents exporting a contact list: open Contacts, select the list, choose Export, select the fields, choose Done, then send or save the exported contact cards. Choose those fields deliberately. A worksheet can’t recover a detail you left out of the export.
Continue with that file on a computer, using the Mac route or Google Contacts if cloud import is acceptable. You’ll have contact cards at that point. The computer bridge turns them into a table.
For contacts already in iCloud, Apple says you can export selected or all contacts as one vCard from a computer. Importing a vCard containing several people into iCloud creates a separate contact entry for each person. Use that distinction when checking counts: one VCF file can contain many contacts, so one file should not mean one worksheet row.
With Google Contacts, import VCF and export Google CSV
Google Contacts on a computer accepts VCF or CSV imports through Import > Select file. Import your VCF, then review the contacts you intend to export. Google warns that importing more than 3,000 contacts at once can cause problems and recommends splitting larger imports into multiple CSV files. Don’t force an oversized import just to keep everything in one file.
Select the contacts, then follow Google’s Google CSV export route: More actions > Export > Google CSV > Export. This is a useful route for someone working on a Windows computer who is comfortable putting the contacts in Google’s service.
If the starting point is Google Contacts on Android, Google documents exporting accounts to VCF: Contacts > Menu > Settings > Export, choose one or more accounts, then export. Take that VCF to the computer route above.
If cloud import isn’t acceptable and you don’t have the Mac apps available, retain the VCF and obtain a documented contact export from the source system. Stop at inspecting the raw text rather than treating Excel’s text importer as a contact parser.

Open the editor before changing column types
The fragile step is loading the CSV. Microsoft’s documented text and CSV import starts with Data > From Text/CSV and offers Transform Data before the worksheet load. Use it. Opening the CSV directly leaves you without this deliberate review step.
Follow Microsoft’s Text column import sequence in this order:
- In Excel, choose Data > From Text/CSV, select the CSV file, and choose Import.
- Inspect the delimiter and preview. Check that the header and values divide into the columns you expect.
- Choose Transform Data to open Power Query/Query Editor. The documented older preview interface calls this Edit. Open the editor before selecting the columns to change.
- In the editor, select phone, postal, and other identifier columns. Choose Home > Transform > Data Type > Text.
- Choose Replace Current to replace the current type conversion step.
- Choose Home > Close & Load to load the result into the worksheet.
Inspect the file in the initial preview, then open the editor to set the column types. Don’t skip that transition.
Excel can remove leading zeros, change phone or postal values, and turn long values into scientific notation when it treats text as numbers. Phone numbers and postal codes are identifiers here, not quantities you need to add. Keep them as Text from the import step onward. A display format cannot restore digits already discarded.
A small example makes the damage visible
For the fictional Juniper contact above, this literal CSV illustrates the intended columns. It is an illustration, not a tested conversion result or Google’s exact import template:
Full Name,Phone,Email,Postal Code
Juniper Vale,+1-202-555-0147,[email protected],00123
Full Name maps FN to Juniper Vale. Phone maps TEL to the phone value, preserving the plus sign. Email maps EMAIL to the fictional example.com address.
Postal Code is different: 00123 is a separately supplied fictional identifier. The displayed VCF has no ADR property, so it does not supply that postal value. The extra column shows why a value with a leading zero must remain Text; it does not suggest that conversion invented an address.
If you’re building a file for Google contact import, use Google’s own template guidance instead of copying these illustrative headers. Google says to keep its header row, creates a contact for each row containing entered data, and permits extra columns for multiple phone numbers or email addresses.
That same care belongs in your worksheet. Preserve separate numbered or extra phone and email columns when the bridge produces them. RFC 6350 allows repeated TEL and EMAIL properties, so a second value is contact data, not clutter. Keep it until you’ve decided what the receiving system needs.
Check the person, then the values
Before saving the reviewed XLSX, compare the worksheet with the untouched VCF and the bridge export. Start with the contact count, then inspect a person with more than one phone or email. Check notes, an accented name, a phone starting with a plus sign, and a postal value starting with zero where those occur in your data.
Choose examples that would expose a bad import. Ordinary names and simple numbers can look fine while accents or leading zeros have changed. For each value you check, confirm who it belongs to. Finding it somewhere in the workbook isn’t enough.
If 00123 has become 123, or the phone has lost its plus sign, return to the intact CSV and repeat the editor sequence with the affected columns set to Text. Microsoft explains why formatting cannot recover discarded digits. Fix the import, then check the result again.
If a detail isn’t visible after a Google import, Google recommends checking the contact’s Notes section. Compare with the original export before declaring it lost or deleting a column that looks empty.
If your next step is an Outlook contact import and its preview shows broken accented characters, Microsoft recommends UTF 8 for the CSV. Cancel, convert the file to UTF 8, and restart. Don’t accept an unreadable preview and plan to fix names afterward.
A missing heading or field calls for an earlier recovery point. Microsoft’s Outlook guidance requires headings in the first row and advises returning to the source when needed information is absent from the CSV. If the export never contained the value, another Excel format won’t create it.
Keep the workbook for review, CSV for the next import
Save the checked sheet as XLSX when the job is a worksheet someone will sort, review, or hand to a colleague. Keep the original VCF and the bridge export beside it so a later correction starts with intact data.
Choose CSV when the next system needs a flat contact file. Outlook’s documented CSV contact import is one such handoff. For the general flat export route, follow our vCard to CSV instructions. Continue through Excel when you need to review the contacts in a worksheet.
For contact details you’ll keep updating after sharing, use a live card alongside the verified workbook. Zapped offers a digital vCard shared by link, QR code, or NFC tap, with shared destinations that can point to the latest profile after edits. Keep the reviewed XLSX for the static record and use the live card for details you’ll continue updating.