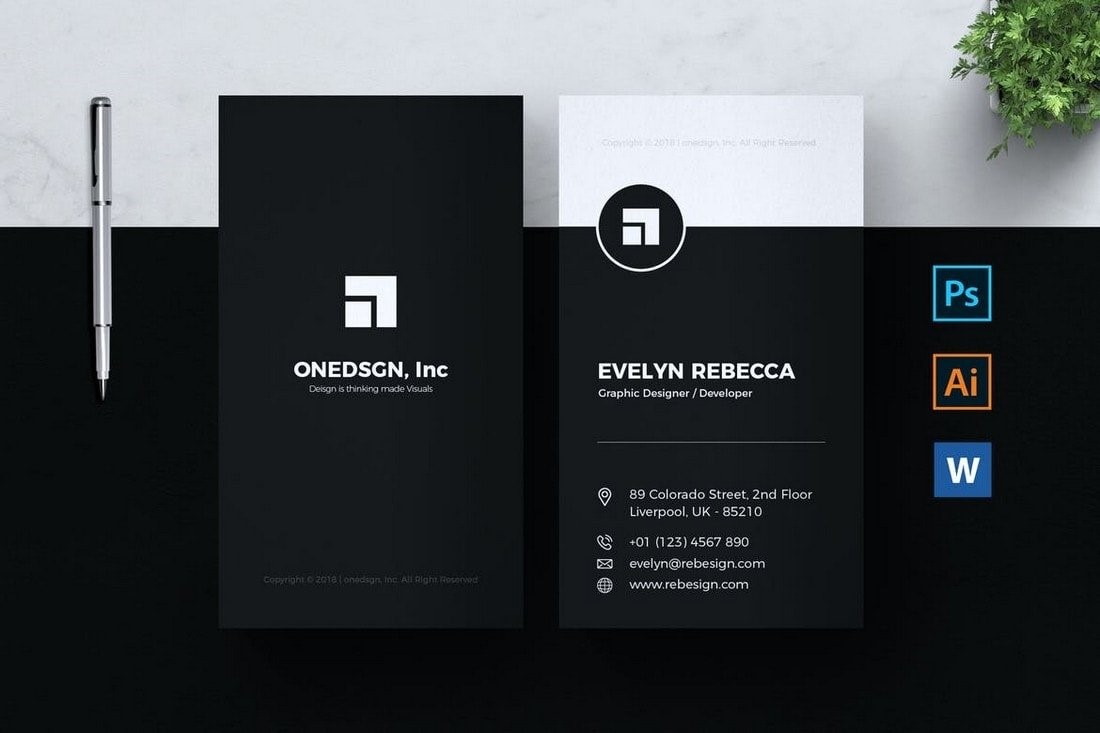
Google Docs can make a simple business card when you need a fast editable layout, but it is not a dedicated print design tool. The trick is to use Docs for a basic sheet layout, keep the card readable, export a PDF, and test the QR code before printing.
Quick answer
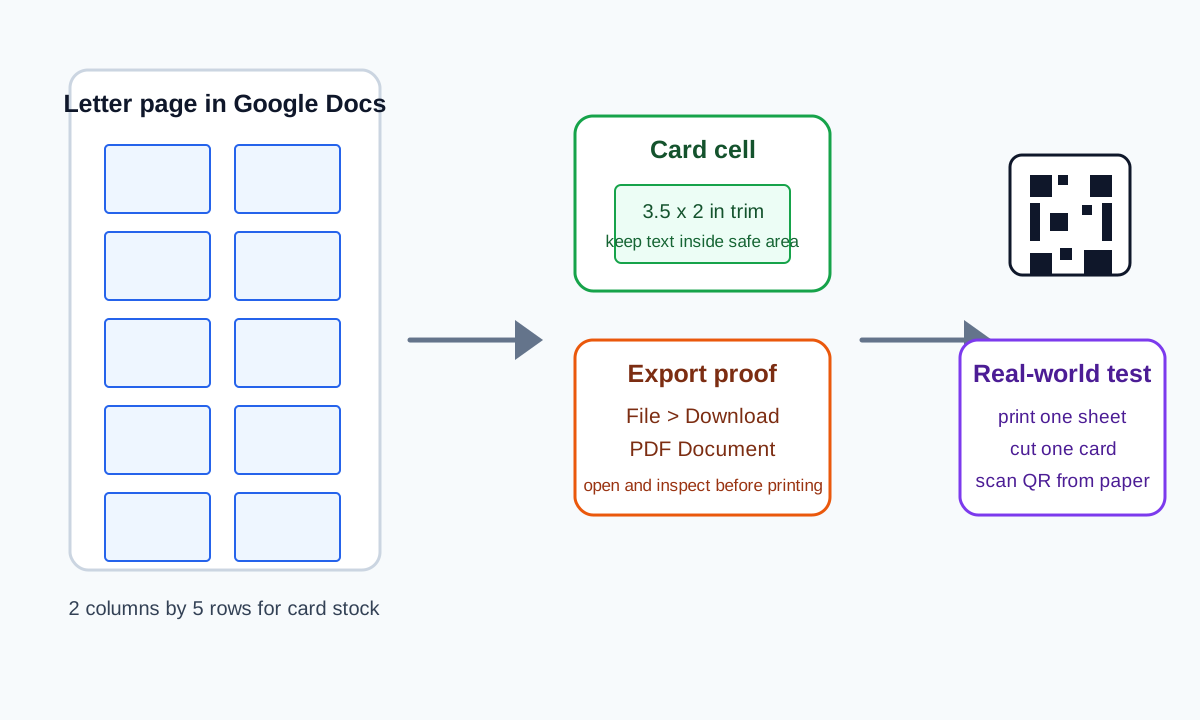
Use a Google Docs business card template when you need a simple card or a quick draft. Open a template or build a table on a letter size page, place each card inside a 3.5 by 2 inch cell, keep important text away from the edge, add a QR code image if needed, then use File > Download > PDF Document or File > Print to make a proof.
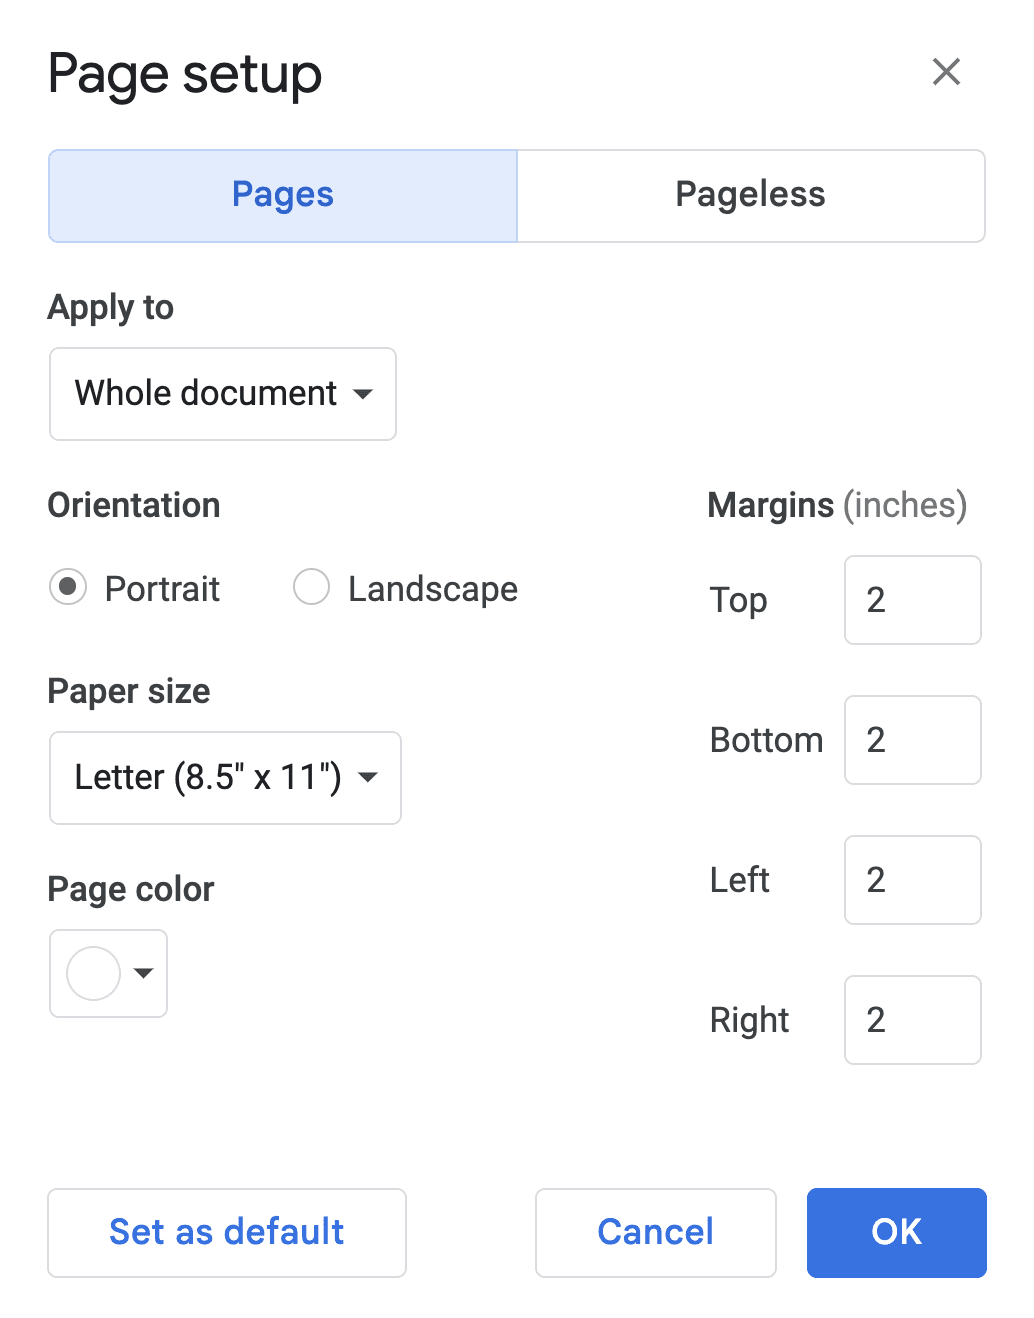
Visual reference: Google Docs Page setup screenshot from PDF Agile's margin walkthrough.
When Google Docs is a good fit
Google Docs works best for:
- Basic cards with a name, title, phone, email, website, and QR code.
- Internal drafts that a team needs to comment on.
- Home or office printing on perforated card sheets.
- Simple inserts where perfect commercial print bleed is not critical.
Use Canva, Illustrator, Photoshop, or your printer's template instead if the card needs exact bleed, spot colors, complex typography, foil, die cuts, or a professional prepress workflow.
What size to use
The common US business card trim size is 3.5 by 2 inches. Many printers ask for 0.125 inch bleed on every side, which makes the full artwork size 3.75 by 2.25 inches before trimming.
Google Docs is awkward for true bleed. For best results:
- Use the printer or card stock manufacturer's Google Docs template when they provide one.
- If you are making your own sheet, build the cards on a letter size page and keep text at least 0.125 inch inside the final trim edge.
- Do not place the QR code, phone number, email address, or logo right on the cut line.
- For commercial printing, ask the printer whether a Docs PDF is acceptable before you order.
Make a business card sheet in Google Docs
- Open Google Docs and create a blank document.
- Go to File > Page setup.
- Choose Pages, set orientation to Portrait, and set the paper size to Letter if you are printing in the US.
- Set margins based on your card stock or template. If you do not have a template, start with 0.5 inch margins and print a plain paper test.
- Insert a table for your sheet. A common layout is 2 columns by 5 rows for ten horizontal cards on a letter size page.
- Resize each table cell to match your card stock. If the cell handles are hard to set precisely, use the manufacturer's template rather than guessing.
- Put one card design in the first cell, then duplicate it into the remaining cells.
- Hide or lighten table borders if your card stock already has cut lines.
Google's own Docs help confirms that page setup controls paper size, orientation, margins, and page color. That is the main setting area you will use before building the card sheet.
Add the card details
Keep the layout simple. Put the highest-value contact method first, then use the QR code for everything that changes over time.
A practical front side:
- Name
- Role or service
- Business name
- Phone or email
- Website or short profile URL
A practical back side:
- QR code
- Short prompt such as "Scan to save my contact"
- One social handle or booking prompt
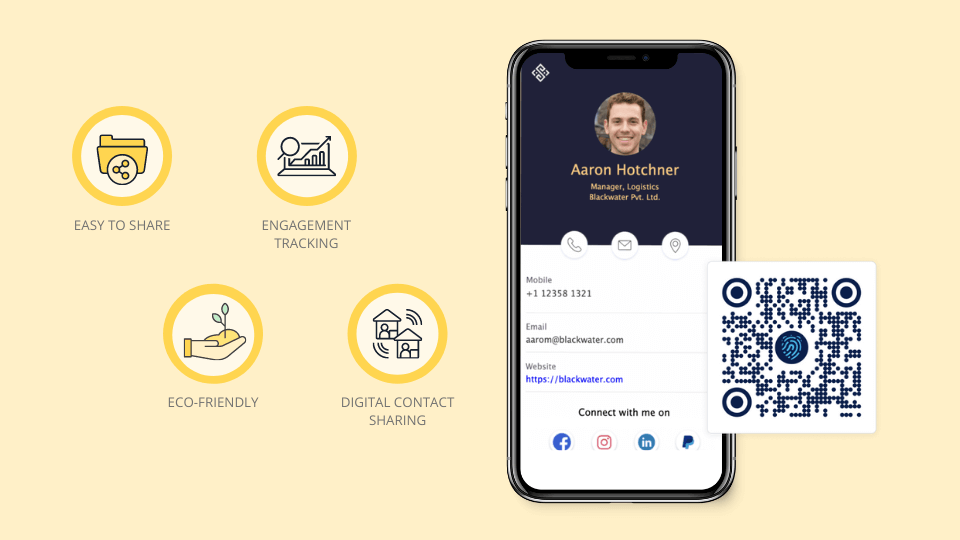
If the QR code points to a live digital profile, you can update phone numbers, booking links, social links, portfolios, and offers later without reprinting the card.
Add a QR code to the Google Docs card
- Create the QR code in your digital card platform or QR generator.
- Download the QR code as a PNG or SVG if the tool supports it.
- In Google Docs, click inside the card cell.
- Choose Insert > Image and upload the QR image.
- Resize the QR code without stretching it.
- Leave white space around the code so the phone camera can read it.
- Scan the QR code from your screen and from a printed proof.
Do not use a blurry screenshot of a QR code. Use the original downloaded QR image.
Export the Google Docs card as a PDF
Use one of these two paths:
- File > Download > PDF Document (.pdf) when you want a PDF file to send or proof.
- File > Print, then use your system print dialog if you are printing at home or saving through a printer-specific workflow.
Open the PDF after export and check that the card did not shift, wrap, or resize.
Print test before ordering
Before printing a full batch:
- Print one sheet on plain paper.
- Hold it behind the card stock sheet to compare alignment.
- Cut one card and check the spacing.
- Scan the QR code with an iPhone and an Android phone if possible.
- Read the smallest text in normal room light.
- Confirm every link, phone number, email address, and social handle.
Common problems
The cards do not line up with the card stock
Use the card stock manufacturer's template. Browser print settings, printer scaling, and table cell sizing can shift a homemade Docs layout.
The PDF looks different from the Google Doc
Open the PDF before sending it to print. If text wraps or spacing changes, simplify the layout, use fewer fonts, and export again.
The QR code scans on screen but not on paper
Make it larger, use higher contrast, keep it flat, and leave more blank space around it. Glossy finishes and tiny QR codes can fail in real use.
Where Zapped fits
Zapped is useful when the card needs a QR code that points to an editable profile. You can design the basic card in Google Docs, add a Zapped QR code, print the card, and keep updating the profile after the card is handed out.
Sources
- Google Docs Help, change page settings for page setup, paper size, orientation, and margins.
- Google Docs product page for current Docs availability on desktop and mobile.
- PDF Agile, how to change margins in Google Docs for the Page setup visual reference.
- Zapped digital business card features for QR, profile, NFC, and editable contact workflows.